gorg

gorg

Wednesday, December 21, 2011

my-oh-my eyebrows

ever have those random pieces of information that you heard somewhere, sometime completely randomly- but for some reason they just stick with you forever? if you're like me, this occurs pretty much on an hourly basis. during the shower, I always remember that I once heard that shampoo should only be used on your roots and conditioner is meant for the "ponytail area" of your hair. so for the rest of my life, I have this nagging voice dictating to me proper shampooing and conditioning practices. or how eyelashes should be curled not just once at the base of your lash line, but again in the middle and at the end if you want them to really curl. so even I'm pressed for time and rushing through my makeup, I always take time for that step.

but for the sake of this blogpost, the one most important tidbits has to do with my most discussed features- my eyebrows. a person's eyebrows are what frame their face and draw attention to their eyes. they should be like sisters and not twins. as an Italian girl with very thick hair, my unruly eyebrows have been the bane of my existence for as long as I can remember. (insert picture with bushy eyebrows here) it wasn't until I discovered the miracles of waxing, that I realized my true eyebrow potential. Now while there were a few slip ups along the way (who doesn't remember the ever popular and universally unflattering look of pencil thin eyebrows?!) I managed to find a shape, thickness and all out perfect eyebrow for myself.


tool of the trade:
eyebrow brush/"spoolie"
tweezers
small manicure scissors
hard angled eyeliner brush/stiff eyeliner brush
matte eyeshadow: choose the color that corresponds with your hair color/eyebrow color. brunette: dark brown (not black!) blonde: light brown red: medium brown/chestnut


pardon the close up but this is my brows naturally before any grooming/filling in

the best way I've found to shape my brows is to follow their natural shape as much as possible. straight up from the inner tear duct of your eye is where your brows should start, and about a 45 degree angle from your outer corner is where they should end. now, I naturally have very strong brows, so the beginning part of my eyebrow is a bit larger than some people are comfortable with, but I start my arch right about where my pupil begins and arch it slightly through my whole brow. because of over-plucking during my teenage years (curse me!), my brows end a bit earlier than they should. easy fix with the stiff brush and dark brown shadow!

using short strokes with a stiff brush and shadow, I create the strong start to my brow. I continue with that same pattern through the front of my brow, filling in any sparse areas and making them look nice and full. be careful to use a light hand when doing these short strokes, you don't want to have eyebrows that look colored in- too cartoony! to fix my sparse ends, I use the same stiff brush and shadow, except this time I wet the brush to give me a nice clean line. I continue following natural line of my brow, getting thinner as I get closer to that 45 degree angle mark. to make sure they look natural and not drawn on, I take an eyebrow brush or spoolie and brush through my brows and over the line. the last step is to pluck any stray hairs that fall outside the defined brow area and trim the tops to make sure everything is neat and in line.

it sounds like a ton of steps and seems a lot more complicated than it actually is. eyebrows probably take up 5 minutes of my entire makeup routine, but trust me when I tell you that it makes a world of difference!

xx,
Marissa

Thursday, December 1, 2011

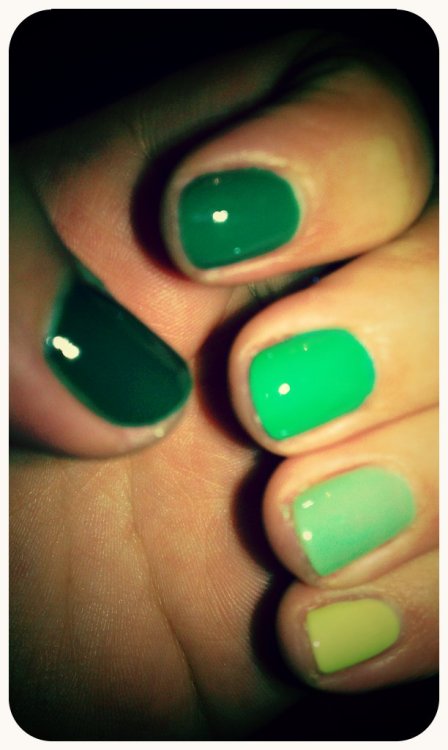
ombre nails

so, what's it been like a millennium since my last blog post. shame, shame- i know! but here i am with something beautiful, girly and a la lauren conrad. so what could be better? nothing right?!

the ombre trend has been everywhere for quite some time, and honestly i don't see the trend going anywhere anytime soon. from hair, to handbags, to fabrics and even nails- slight variations in color are quiteee the bee's knees ;)


to get this look i used five different green nail polishes (all varying ever so slightly) why a single person needs that many slight variations for almost the exact same color may be many people's first reactions, but not mine. my nail polish addiction is a bit of a problem, and green is my favorite color, but hey cheaper and less dangerous than crack. win, win- right?


OPI "Gargantuan Green Grape", Charlotte Rousse cheapie mint green polish, Sally Hansen Insta-Dri "Mint Sprint", OPI "Jade is the New Black" and Orly "Wandering Vine"

give it a try- pink, mauve, red, purple, blacks.
xx,
Marissa

Sunday, November 6, 2011

blogs and 'zines

one of my favorite parts about quick CVS runs is the magazine displays during check out. while the celebrity trash magazines are fun to flip through, it's always the fashion and beauty magazines that are the ones I actually grab. lucky has been a favorite of mine for a while, and I love the stickers they include to make it easier to remember which things I'm currently obsessing over. i feel like an editor-in-chief tagging the things that I love, and making note of certain articles for blog posts (that is, as long as I follow through...)


notice, all those tabbed pages? my bank account is not going to be very happy with me. and hi, that sequined fish scale skirt- to die for! even though the print media industry (books, magazines, etc.) is on the outs, there's something about flipping through the glossy pages of a magazine that reading blogs just can't match.

what are some of your favorite magazines? are you a fashion gal like me, enjoy getting scandalous sex advice from cosmo, or need your fix of trashy celebrity gossip?

xx,
Marissa

Sunday, October 9, 2011

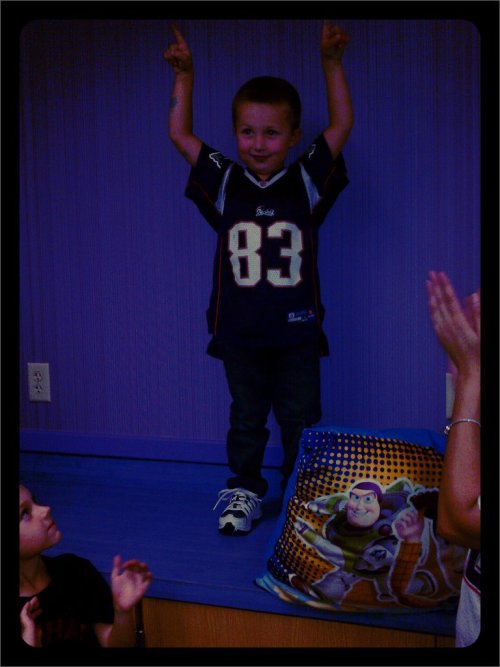
little man turns 4

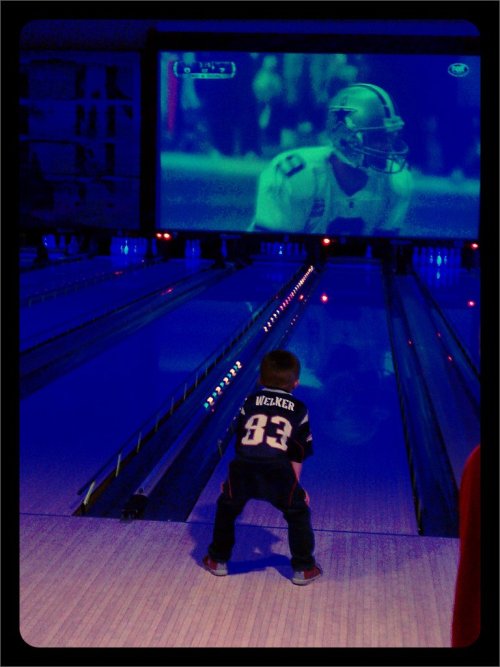
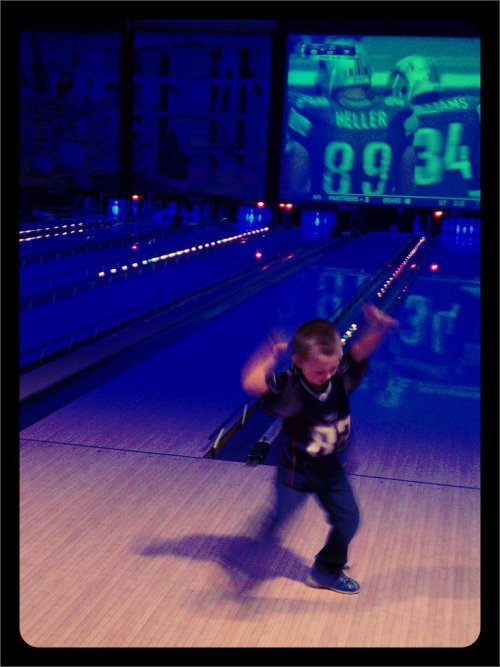
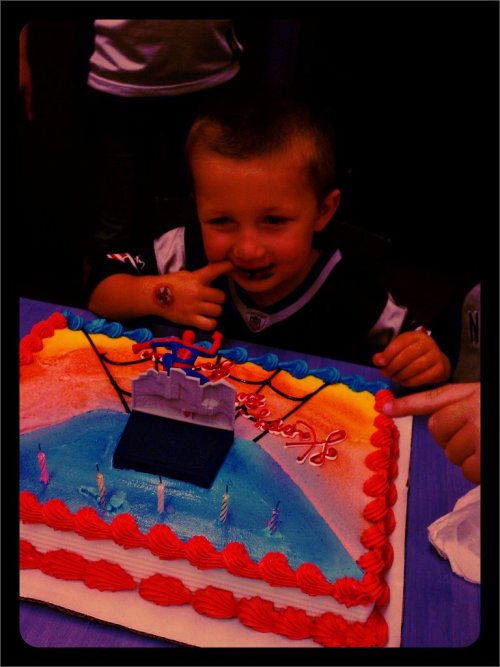
been slacking majorly on the blogging front, but not having internet access for my beloved ipad has been pretty much a kill joy. updating from my big-girl phone just doesn't do it for me. but alas, last weekend was jordan's (the coolest 4 year old on the block, who just so happens to be my nephew) birthday party. snapped some pics of kids being kids, and all the birthday goodies that make kid's parties fun. games, pizza, presents, prizes- what more could a kid ask for?
perfect mix of concentration and natural talent.
victory dance.
opening presents- whatta goon.
digging in.
four generations.

happy birthday little man. best text message i've ever gotten, a picture of him right after he was born sent during class saying "hi auntie! i'm here". love you more than anything

xx,
Marissa

ps. found the cutest store the other day. expect a blog post within the next few days with pictures of the store and my new fav accessory :)

Sunday, September 25, 2011

all hallow's eve

one of my favorite parts of fall has always been halloween. I love everything about it; witches, ghosts, costumes, parties and trick-or-treating. I was totally the kid who stayed as the same character for multiple halloweens. I'm pretty sure my mom made me not one, not two, but three dorothy costumes because she was my favorite. I even brought it back two halloweens ago (not the same costume of course) when I was in Germany visiting my cousin Nilene who, with the help of her friends and boyfriend, hand created costumes for all the characters.


while I like to take the time to carefully select the perfect costume each and every halloween, sometimes (like last year) a costume can slip your mind. blasphemy I know! but it was my 21st birthday and that celebration was deemed more important than halloween since it would happen once in my entire life. during those times, or hey even the random costume party or theme night, being able to throw something together in a pinch can make or break the evening!

that, my dear friends, is where makeup comes quite in handy. with the help of a few eyeshadow colors and some imagination you can instantly transform your look from everyday to someone else entirely.

with a few oceany colors; dark blue/navy, turquoise, sea foam green and pearly white, I was able to create an eye look fit for a mermaid.
add a touch of purple and wing the ends out and you're a peacock in a pinch. hello last years halloween costume!


to create the wave of color going from darkest in the outer corner to lightest on the inner corner the tried and true "smokey eye, apply the darkest shade (dark blue/navy) to the outer corner of your eye in a sideways "V" shape. then take the second darkest color (turquoise) and apply it after the navy, blending the two together slightly over one another. next take the second lightest color (sea foam green) and apply it from where the turquoise ends to just before the inner corner. lastly, take your lightest shade (pearly white) and apply it to the inner corner/tear duct. i like the take the same color and mirror the colors on my lower lash line as well, helping to make your eye appear larger. connect the outer corners together in a soft point, and do the same around your tear duct. don't forget to curl your lashes and add a few coats of mascara to complete the look.


with an eye look as crazy as this, just remember to keep the rest of your makeup pretty simple. clear and glowing skin and a simple lip. the color combinations for this look are endless and so are the different costumes that would be created!

xx,
Marissa

Saturday, September 24, 2011

fall faves

so, my all time favorite season would have to be fall. I love the layers, the comfy fabrics and the completely different style just a few months can change. Don't get me wrong, summer is amazing; sundresses and sandals are my go-to staples (and totally inappropriate for any other season in New England), but to me there's nothing cuter than cable knit sweaters, pea coats and a great leather riding boot. To get myself ready for fall, I pulled a few of my favorite pieces from last year that have the perfect preppy crispness that just screams fall to me.


Cable knit: maybe it was my years of working at Ralph Lauren, but to me nothing says back to school like a cable knit sweater. I've always preferred the v-neck variety, but a crew neck is great for layering a button down or polo underneath. Just as comfy as a hoodie, but you look a million times more put together.

Stripes: besides floral print, stripes are hands down my favorite pattern. I love the crispness of them, how tailored they look and are just the perfect amount of nautical. This rugby has been in my wardrobe for years now, and still looks just as good as when I bought it. I love it so much, I even bought it in pink. But the best part of keeping them in rotation? The older they are, the softer and comfier they get. If you think a horizontal stripe will make you look wider, go with a thicker stripe like this one. Too many little stripes is what adds onto your body. Or a chevron stripe is great and is everywhere this season.

Lace: perfect fabric in my opinion. Kind of multiple personality, if you want to personify fabric. Can be sweet, girly and ultra feminine or when mixed with the right accessories sexy and badass. I love when I see girls rocking lace with black pieces and leather, like combat boots or a leather jacket. I prefer to keep my lace sweet, by wearing it with silk, cotton or sequins. This shirt is great to wear with boyfriend jeans and looks super cute with a variety of different colored tank tops underneath.

Pearls: cute and casual all rolled into one. This sweatshirt material pullover balances out the boyish factor with the delicate sprinkling of pearls around the top. While I have a strict no hoodies/sweatshirt policy outside of my apartment, this little beauty is able to sneak in under the radar. Perfect for when the days start getting chilly.

I also snuck in a few rando's in the picture, like my thick sweater tights; perfect for making some of my favorite sundresses fall appropriate. Throw on with a cardigan and boots, you're good to go! I love leather bags for the fall, especially this one with it's saturated color, gold hardware and roomy inside. Perfect with the gorgeous foliage, and a great bag to use if you're in school. Chunky jewelry, like the leather and gold bracelet is perfect for fall. So much easier to accessorize when you're not worried about sweating, swimming and everything else the summer entails. Fall means back to a schedule for most people, and what better to do that with than a great watch. While many people carried the white watch trend on through the summer, I mean hello white does look amazing with a tan, I still like it for the fall. It will look great with navy and all the gold accessories I see myself wearing. And finally, changing seasons means changing scents. While during the summer your scent can be fruity and light, I like to wear a sexy, sultry scent during the fall. Something a little spicy with almost a men's cologne smell to it. My favorites? Burberry Brit and Victor and Rolf Flowerbomb.

Hope everyone else is as excited for fall as I am. Caramel apples, pumpkins, Halloween, the leaves changing, the smell, my birthday... The list goes on and on.

xx,
Marissa

Friday, September 23, 2011

grown-up glitter

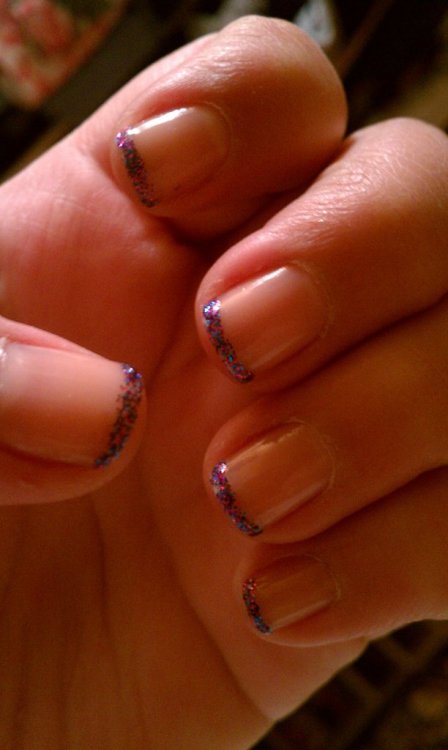
while some people consider glitter better left in the hands of little girls under 10,  i of course think otherwise. the same way tulle, bows and the color pink, can be grown up and have a prominent place in a grown-up girls life, i believe glitter can too. the key is simply moderation. proof of these beliefs can be seen on any given day with my signature glitter nail or in this next nail look. my inspiration came from a picture i saw the lovely Lauren Conrad post a few days ago with a cute aqua colored glitter manicure. except in her case, it was loose dry glitter, which i always find too messy to even bother with. since i can't find the link anywhere, your imagination will just have to do. but without further adieu, grown-up glitter.
 twist on the classic french manicure by using glitter polish instead of traditional white.
i opted to go for a super skinny line of glitter to make it as cute and classy as possible. feel free to go thicker if you like, for this look i think the thinner the better.

to get super skinny and smooth lines like the ones i have here, use a nail polish with a thin brush (not like the normal nail polish wand in most bottles. i use this one!

xx,
Marissa